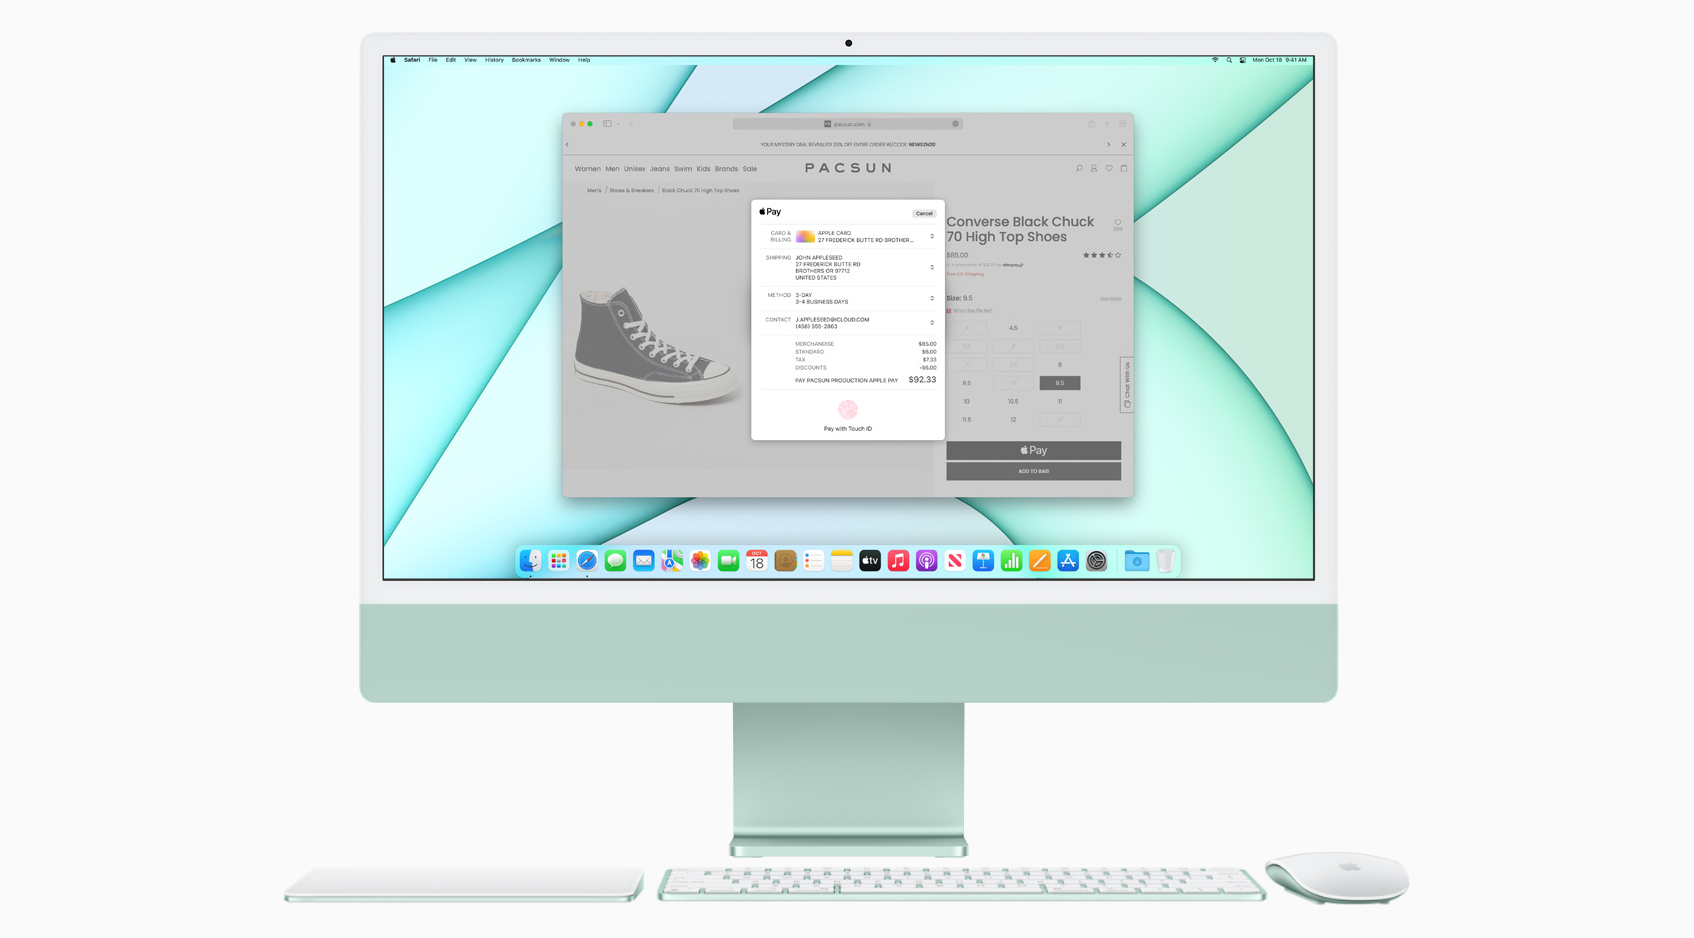
Green iMac with keyboard trackpad and mouse
Mac

How To Take A Screenshot On Mac

Dan King
Dan King

Table of Contents

This article explains how to take a screenshot on your Mac using both keyboard shortcuts and the built-in Apple screenshot app.

Shortcuts for Capturing Your Screen on Mac

First lets explore the shortcuts for taking a screenshot on your Mac.

  1. To take an image of your full Mac screen, press Command+Shift+3
  2. If you only want to grab an image of a portion of your screen, press Command+Shift+4. This will turn your cursor into a little crosshair that you can use to click and drag around the portion of the screen you want. This is very helpful for taking small screenshots for use in apps like Notes, Mail, and other apps where you want to either share an image or save something you ran across on the web.
  3. You can also take a screenshot of a specific window on your Mac by pressing Command+Shift+4 and then once you see the cursor turn into a crosshair, press Space. This will turn the crosshair into a little camera you can use to hover over a specific window and take an image of that window.

Use the Screenshot Menu

If you are using a recent version of MacOS (Mojave or later) you can use the Screenshot Menu. The Screenshot Menu allows you to choose from all of the options we discussed above using a friendly menu that pops up on your screen. Here is how to do it:

  1. Press Command+Shift+5. This will bring up the following on-screen menu:
MacOS screenshot menu

The Screenshot Menu selections are as follows:

Capture Entire Screen

Here you can see this item in the Screenshot Menu will allow you to capture the entire screen. This has the same functionality as the Command+Shift+3 shortcut above.

MacOS Capture Entire Screen menu item

Capture Selected Window

This command on the Screenshot Menu allows you to take a screenshot of a window that you select. It is similar to the Command+Shift+3 then using the spacebar shortcut.

MacOS Capture Selected Window menu item

Capture Selected Portion

Using this menu item will allow you to define the specific portion of the screen you would like to capture. This is similar to the Command+Shift+4 shortcut above. As you can see in the below image, there is a user-definable box you can click and drag to the size you would like and then press Capture.

MacOS screenshot menu Capture Selected Portion of the screen

How to Take a Screenshot Video on Mac

The next two options allow you to take a screen recording on your Mac rather than just still screenshots.

Record Entire Screen

This option will allow you to record a QuickTime movie of an entire screen of your Mac. This is extremely useful for things like business presentations, demonstrations on your computer, or even capturing video game highlights. To use this option, press the Record button when you are ready to begin recording.

One thing to be aware of is these screen recordings use quite a bit of hard drive space so make sure you have plenty of available space before you start recording.

MacOS Record Entire Screen menu option

Once you press the Record button, you likely will not notice anything and you might think nothing has happened. Check your Menu Bar at the top of your screen. If you are recording, you will see a small recording icon like the one in the image here:

MacOS Screen Recording icon

In order to stop the screen recording, press the recording icon in your Menu Bar. Your recording will process and pop up on your screen as a QuickTime video like any other screenshot.

Here you can see a sample recording of our screen using the Record Entire Screen option on the Screenshot menu:

MacOS Sample Screen Recording on desktop

Record Selected Portion

Using the Record Selected Portion will allow you to record only a small portion of the screen that you define. This can be very helpful if you have a window open with a video you would like to record a portion of. You could also use this to demonstrate to a friend or colleague something on your Mac or MacBook Pro you need for them to see so they can follow your instructions.

Once you select the portion of your screen you want to record, press the Record button and you will begin recording.

Similar to the Record Entire Screen option, a little Recording icon will pop up in your Menu Bar to let you know you are recording. Once you are ready to stop recording, press the icon and your Mac will stop recording that area of the screen and process your recording into a QuickTime movie.

How To Use Split Screen On Mac
With Split View you can use two apps side-by-side on your Mac. This is a fantastic feature to use when you need to multi-task using two apps at once.